

Learn about the GrabCAD Platform
Get to know GrabCAD as an open software platform for Additive Manufacturing
Visit our new homepage

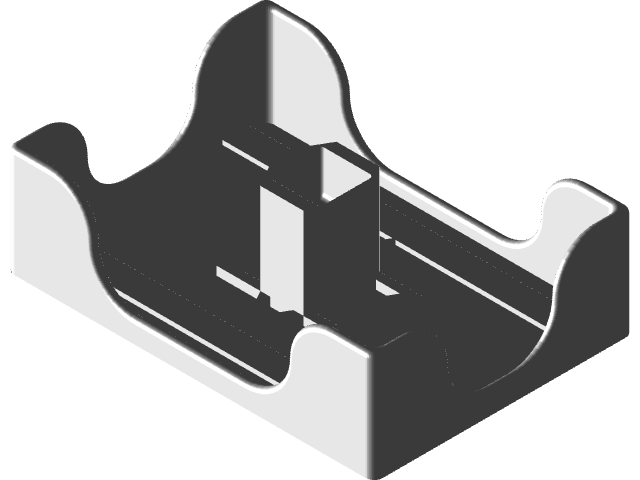
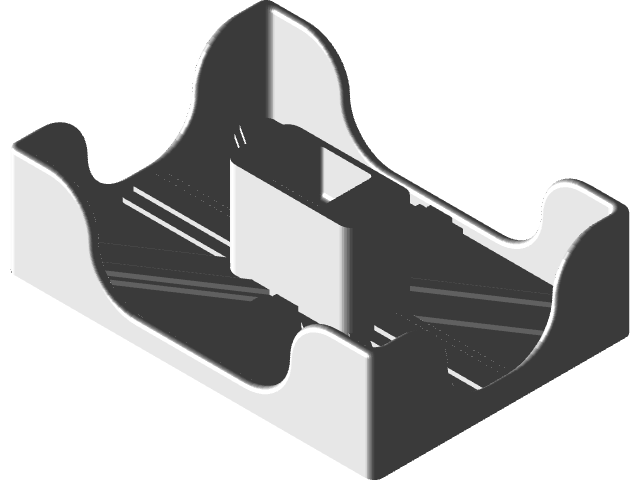
A card shuffling machine. you may need to change the speed/time settings of the motor due to using different types of cards.
Some parts are changeable, I tried to make it modular.
A small color sensor is used to starts the operation automatically when a card is visible. At the end of the operation, a green light is created (by 5 WS2812B (60) LEDs) which means that the shuffled cards can be collected.
The mixing is done in by creating a string with 52 numbers, according to electrical disturbances in the A0 Arduino pin.
You can add 2 buttons for different actions, I did not add them to the code.


Hi, thanks for sharing. I have been wanting to make a similar design to this. It would be great if there was a guide/instructions for how to the pieces assemble together. I see that you have images of the final assembled version. Maybe sharing that as STL files would be sufficient for me to put the parts together?
Hi, i'm currently working on an upgrade to this model...
Almost all the parts are bit different, so I wouldn't print the current model if it seems complex (assembling the electronic parts is challenging for sure(in this model)).
In the new mode,l i'll show the assembly in more detail :)
I saw your wiring scheme. Do you think N20 powered with 12V via TB6612 is much better than 5V? And can solve some situations? I dunno…
I can't tell you for sure, but from my point of view, I used it to not overload/interfere the buck converter and I also hoped it would prevent electrical interference because of the lower current ...and it is probably better to add something like a 1N4007 diode for the motor
hm, but in case of diode, I can't run backward cycle, isn't?
Yes you can, it does not affect the operation of the motor... generaly the cathode (side with a stripe) is connected to the motor's positive terminal, and thr anode (no stripe) is connected to the motor's negative terminal.
It's very hard to adjust perfectly the card hole. I think there need to have two hardware bolts for the hole adjustment. And one for DC motor height. I used additional rubber band from a bicycle tube to add diameter (a little bit). But anyway some failures happen: can't eject a card, can drop two cards, even can eject a card that fits to one slot with left side and next slot with right side… uhh (maybe wheel parts must have more width).
Wiring scheme is't a problem, but there is a lot of space to fit wires and drivers. Very hard to repair after assembling. I believe iFixit level is 10, because it's possible to repair any part, but, as user I can say that it is 5, because it's hard to maintenance. Construction must be simpler for home user, but I can understand that it can be like this for enterprise level. Good luck.
LOL Yes indeed, a bit difficult to fix. Sorry to hear you had to make a lot of adjustments.🙁
Thanks for the feedback! I will take your advice in my next designs.
Hi. It's working. With some modifications and issues… but…
Sorry to hear you're having issues, could you please tell me what they are so I can fix them in the files? (cause i didn't have any issues).
Anyway, after a delay... I uploaded another file that illustrates the wiring a little more clearly.
Hope you enjoy the product, I liked the colors you used! :)
Dropper in the action…
Download file (4.96 MB)
Hi there. It's cool and looks amazing!
I have the same idea for months… And even printed my version, but it's ugly and buggy… Simple stepped can't rotate the wheel, random stops, "card dropper" freezes (blue servo 360 is buggy either). Will try to print your machine. Can you attach electrical scheme to connect controllers? My goal to make machine for texas holdem to play with friends.
I liked the idea, looks really cool and creative!
Sure, but it will take me some time